How to Cut Your Own Hair
The Art and Science of Cutting Your Own Hair
Cutting your own hair is a venture that many of us contemplate at least once in our lives, especially in times when visiting a salon is inconvenient or cost-prohibitive. While the idea may seem intimidating, with the right tools and techniques, you can achieve satisfactory, if not exceptional, results right at home. This comprehensive guide aims to empower you with the knowledge and know-how to take this bold step with confidence.
Whether you're after a minor trim to keep your locks in check or considering a significant style change, understanding how to properly wield scissors can make all the difference. After all, haircutting isn't just about snipping away strands of hair; it's an intricate blend of art and science, requiring a keen eye, steady hands, and an understanding of angles and symmetry.
Jack Anderson, a leading hairstylist, advises, "The most important factors in cutting your own hair are preparation and patience. Ensure you have the right tools and adequate time so that you don't have to rush through the process."
This guide will cover everything from preparing your tools and setting up your workspace to the essential techniques and common mistakes to avoid. Let's embark on this journey to turning your home into your personal salon, achieving professional-level results with a pair of scissors and some strategic snips.
Preparing for the Cut – What You'll Need and How to Set Up
Before you make the first snip, proper preparation is crucial. Inadequate tools or a poorly organized workspace can hinder your efforts, leading to uneven cuts and a less-than-ideal end result. Here are some guidelines to help you prepare:
The Right Tools: Invest in a good pair of hair-cutting shears, a comb with both fine and wide teeth, and a hand mirror. Avoid using regular kitchen or paper scissors, as they can lead to uneven and frayed cuts.
Workspace: Choose an area with excellent lighting conditions and a large mirror. The space should be clean and uncluttered, allowing you to focus solely on the task at hand.
Hair Wash: It's generally advisable to start with clean, dry hair. Wash and condition your hair and let it air-dry or use a hairdryer. The natural texture of your dried hair will guide you better in the cutting process.
Positioning: Stand or sit in a comfortable position where you can easily access all sides of your head using both the room mirror and the hand mirror.
Maggie Ankra, emphasizes, "Always cut your hair in a well-lit space. Good lighting is not a luxury; it's a necessity. It significantly impacts how accurately you can see and cut your hair."
Sectioning and Clips: If you have long hair, sectioning can help manage the cutting process. Use hair clips to separate your hair into manageable parts—usually front, back, and sides.
Sanitization: Don't forget to sanitize your tools. You can use specialized disinfectants or even boiling water for metal tools like scissors and combs.
By investing time in proper preparation, you are setting the stage for a more successful and less stressful self-haircut. This phase is as crucial as the actual cutting and should not be skipped or hurried.
Cutting Techniques – The Do's and Don'ts
Now that you're well-prepared and have set up an ideal workspace, it's time to get down to the business of cutting your hair. Depending on your desired outcome—be it a simple trim, layered cut, or even a bob—the techniques will differ. Here are some universal do's and don'ts for self-haircutting:
Do: Start with Small Snips
Especially if you're new to this, it's better to cut less initially. You can always go back and cut more if needed.
Don't: Cut Horizontally
Avoid making straight, horizontal cuts. Instead, opt for point-cutting, where you snip into the ends at an angle, to achieve a more natural look.
Do: Work in Sections
We mentioned sectioning in the preparation phase for a reason. Working in manageable sections ensures more precision and a better end result.
Don't: Cut Wet Hair
Although some professionals cut wet hair, it’s trickier for a non-expert. Wet hair looks longer, and you might end up cutting off more than you intended when it dries and shrinks.
Sophia Williams advises, "Use your comb not just for detangling, but also as a guide to maintain consistent lengths. It can be your best friend in achieving a symmetrical look."
Do: Frequently Check for Symmetry
After each section, take a moment to check for evenness and symmetry. Use both your hand mirror and room mirror to get a comprehensive view.
Don't: Rush
This is not the time to race against the clock. Cutting your own hair demands patience and a slow, steady hand.
Do: Factor in Your Hair’s Natural Texture
Different textures require different techniques. For curly hair, dry-cutting each curl individually often yields the best result.
By adhering to these do's and don’ts, you considerably lower the risk of a haircut disaster and increase the odds of a successful, salon-worthy outcome. Remember, confidence is key, but overconfidence can lead to overly bold snips that you might regret.
Advanced Tips and Tricks for a Salon-Worthy Outcome
Once you're comfortable with the basics, you might want to explore some advanced techniques that can lend a professional touch to your DIY haircut. Here's how you can up your game:
Texture Matters: Understanding the texture of your hair can make a significant difference. For fine hair, subtle layering can add volume, while thick hair may benefit from texturizing to remove bulk.
Blend, Don’t Chop: If you're aiming for layers or creating a specific style like a bob, the key is to blend the different lengths smoothly. Uneven, choppy layers can throw off the whole look.
Master the Vertical Cut: Vertical cuts involve holding the scissors upright and snipping the ends lightly. This technique gives your hair a softer, more natural finish, ideal for blending layers.
Wrist Movement is Key: The way you manipulate your wrist can impact the precision of your cut. Keep your wrist firm but flexible to guide the scissors accurately.
Lex Jackson emphasizes, "Advanced techniques like vertical cuts or texturizing should be approached cautiously. A light hand and an incremental approach can help you avoid irreversible mistakes."
Consult Video Tutorials: While articles and guides are useful, sometimes seeing a technique in action can offer better insights. There are countless reputable stylists who provide in-depth video tutorials online.
Practice on Extensions or Wigs: Before you take the scissors to your own locks, consider practicing on a wig or extensions. This will give you a better understanding of how your scissors behave and how to manipulate your hands for the desired effect.
Take Breaks: Don't hesitate to step back and evaluate your work. Continuous cutting without pauses can result in fatigue and lead to errors.
Post-Cut Styling: After you're done cutting, styling your hair can set the look and help you identify any areas that need a little extra attention.
Advanced techniques demand a higher level of skill and awareness, but they are well within reach of the motivated DIY-er. With consistent practice and attention to detail, you can produce results that are indistinguishable from a professional salon haircut.
Empowering Yourself Through Knowledge and Skill
Cutting your own hair is a rewarding endeavor that offers both financial savings and a sense of personal accomplishment. By following a carefully considered approach, investing in quality tools, and honing your technique, you can achieve salon-quality results in the comfort of your own home.
Hand Danson, a renowned hairstylist, shares her concluding thoughts: "Haircutting at home is like any other skill—it improves with practice. Don't be discouraged by minor setbacks. Learn from them, adjust your techniques, and continue refining your skills."
As you've learned from this guide, the key steps to a successful self-haircut involve thorough preparation, understanding the basic do's and don'ts, employing advanced techniques when you're ready, and practicing regularly to improve. For those who are serious about mastering this skill, numerous resources can help you progress:
Professional Courses: While aimed at aspiring hairstylists, these courses offer invaluable lessons that can benefit the home DIY-er as well.
Community Workshops: Check local listings for workshops that focus on self-care, including haircutting.
Online Communities: Forums and social media groups can be treasure troves of tips, tutorials, and moral support.
Books and Manuals: Plenty of comprehensive guides have been written on the subject, and they can provide you with an even more nuanced understanding of hair cutting techniques.

Cutting your own hair does not have to be a daunting task reserved for the brave or foolhardy. With the right knowledge and a cautious approach, anyone can learn to do it successfully. As you gain confidence, you'll find that self-haircutting can be not just a necessity, but also a fulfilling form of self-expression and creativity.
Saki Shears Sale
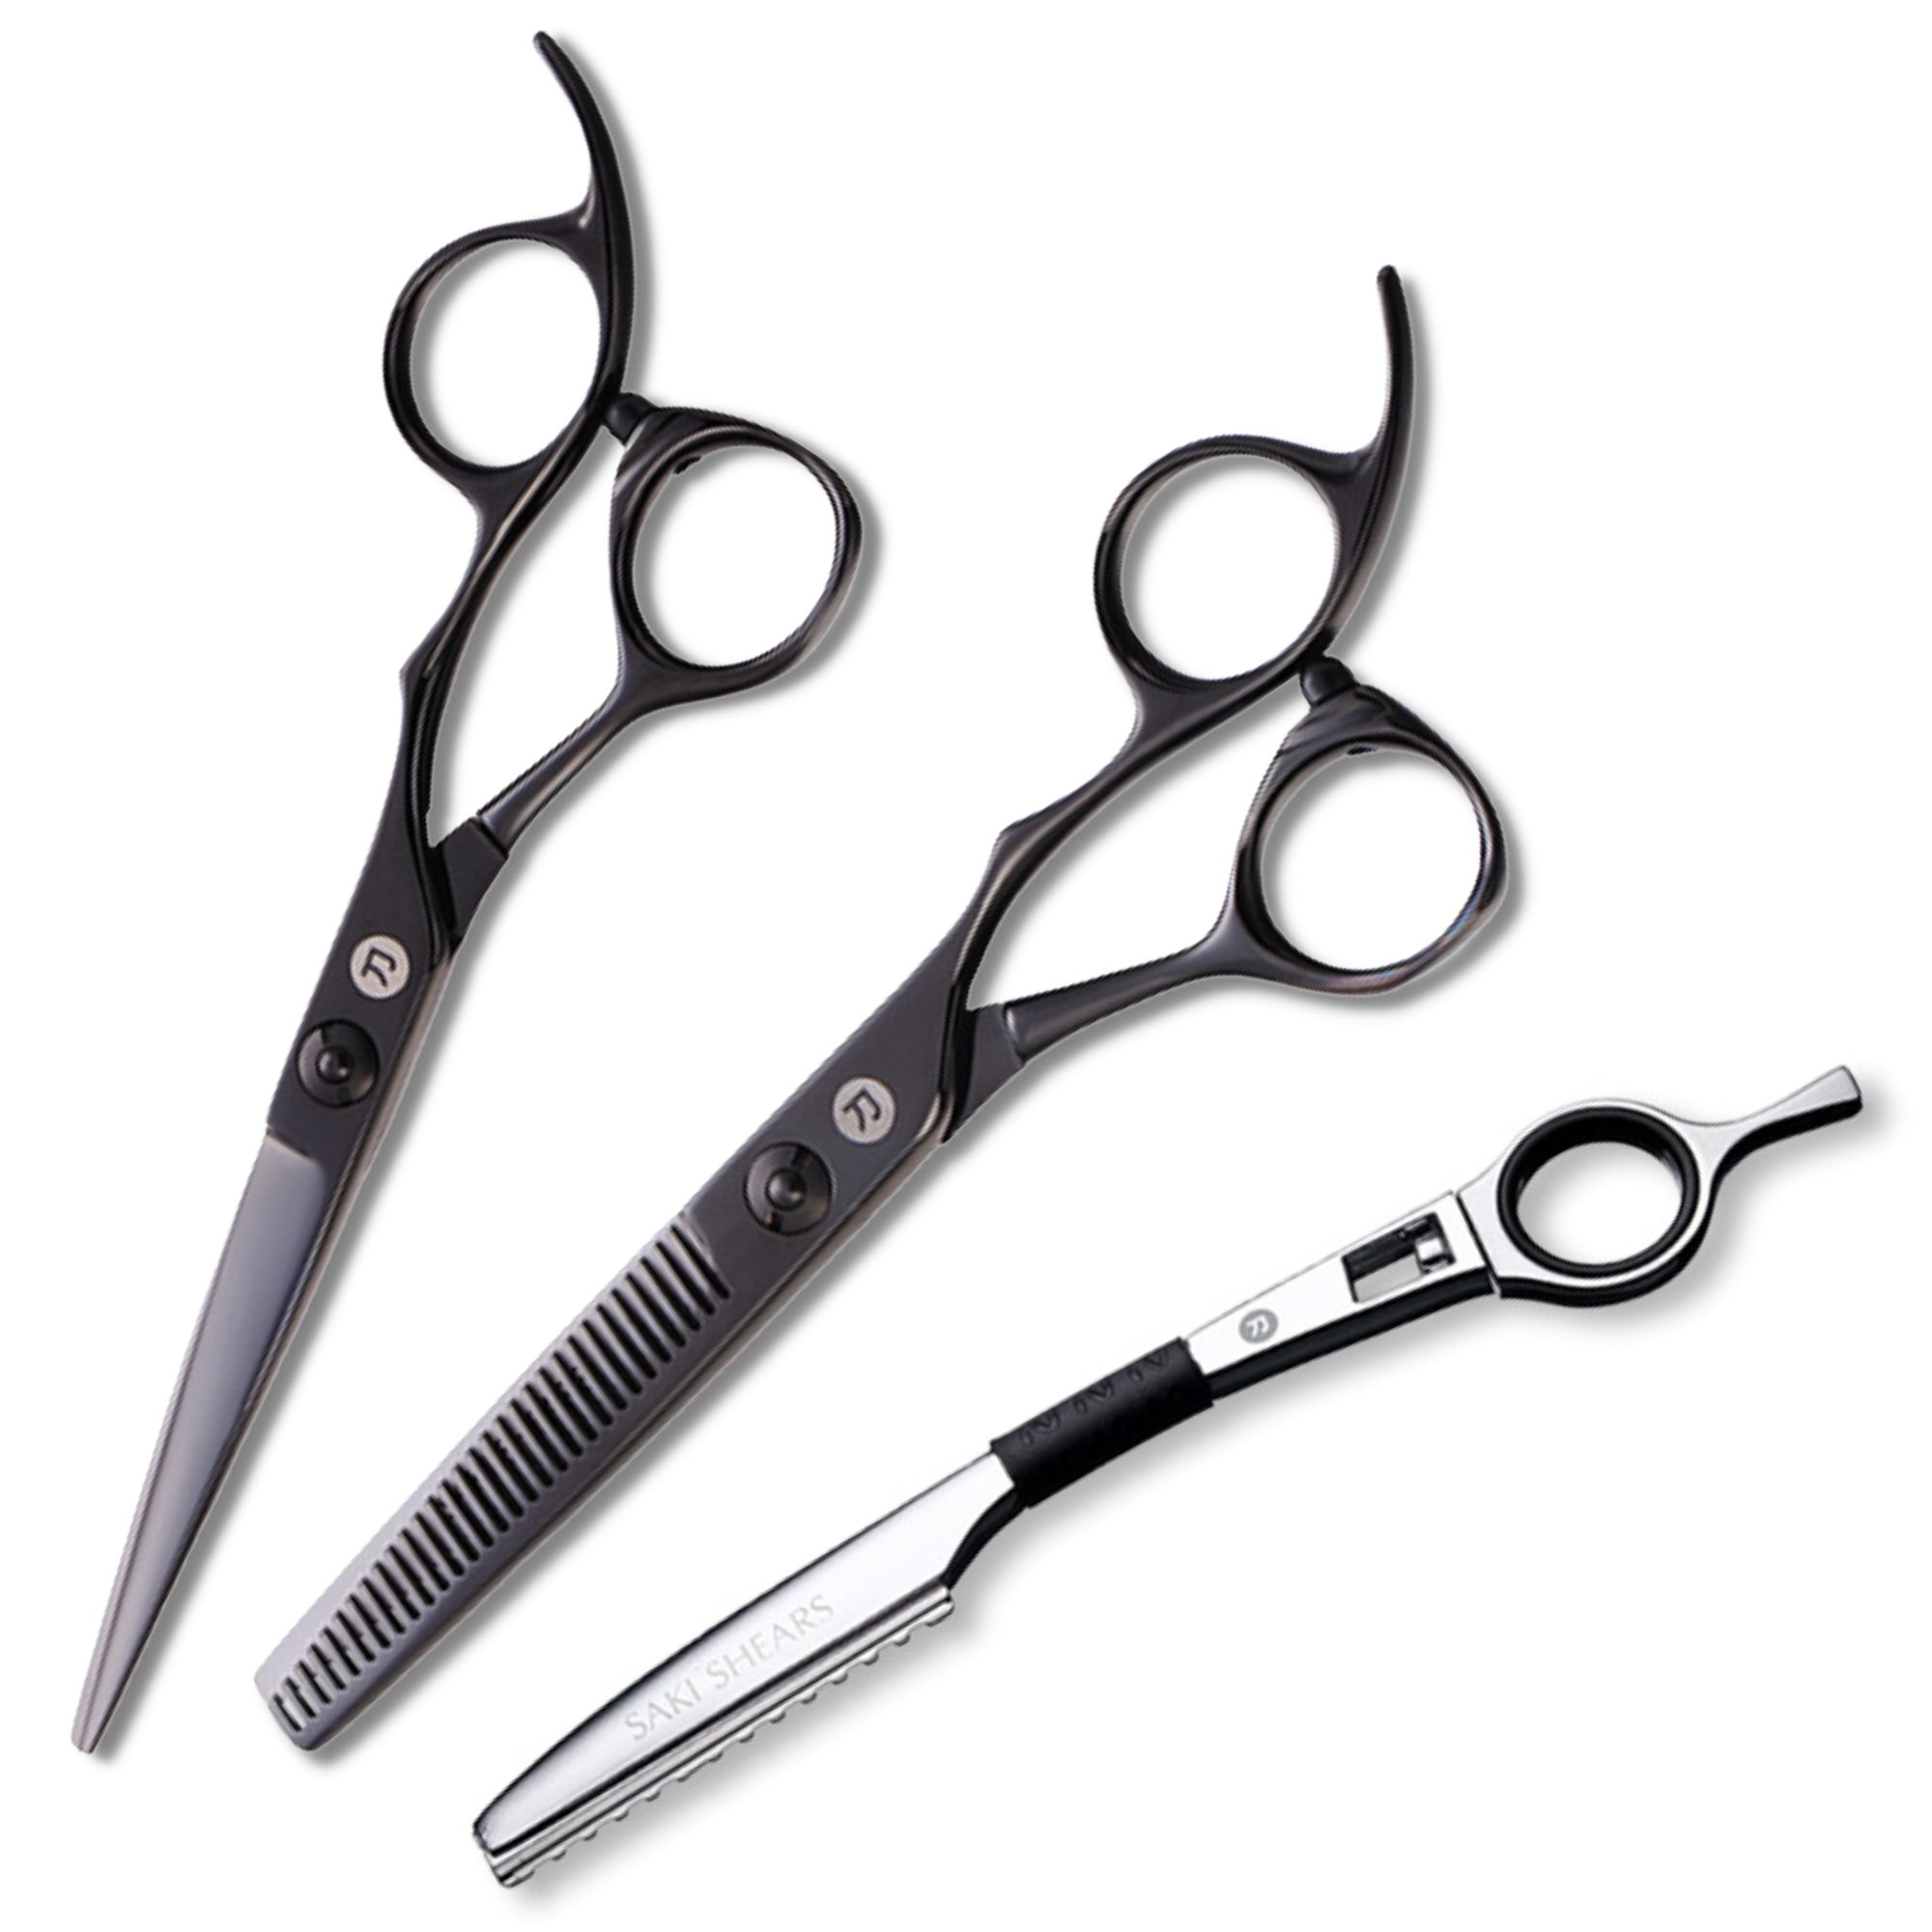
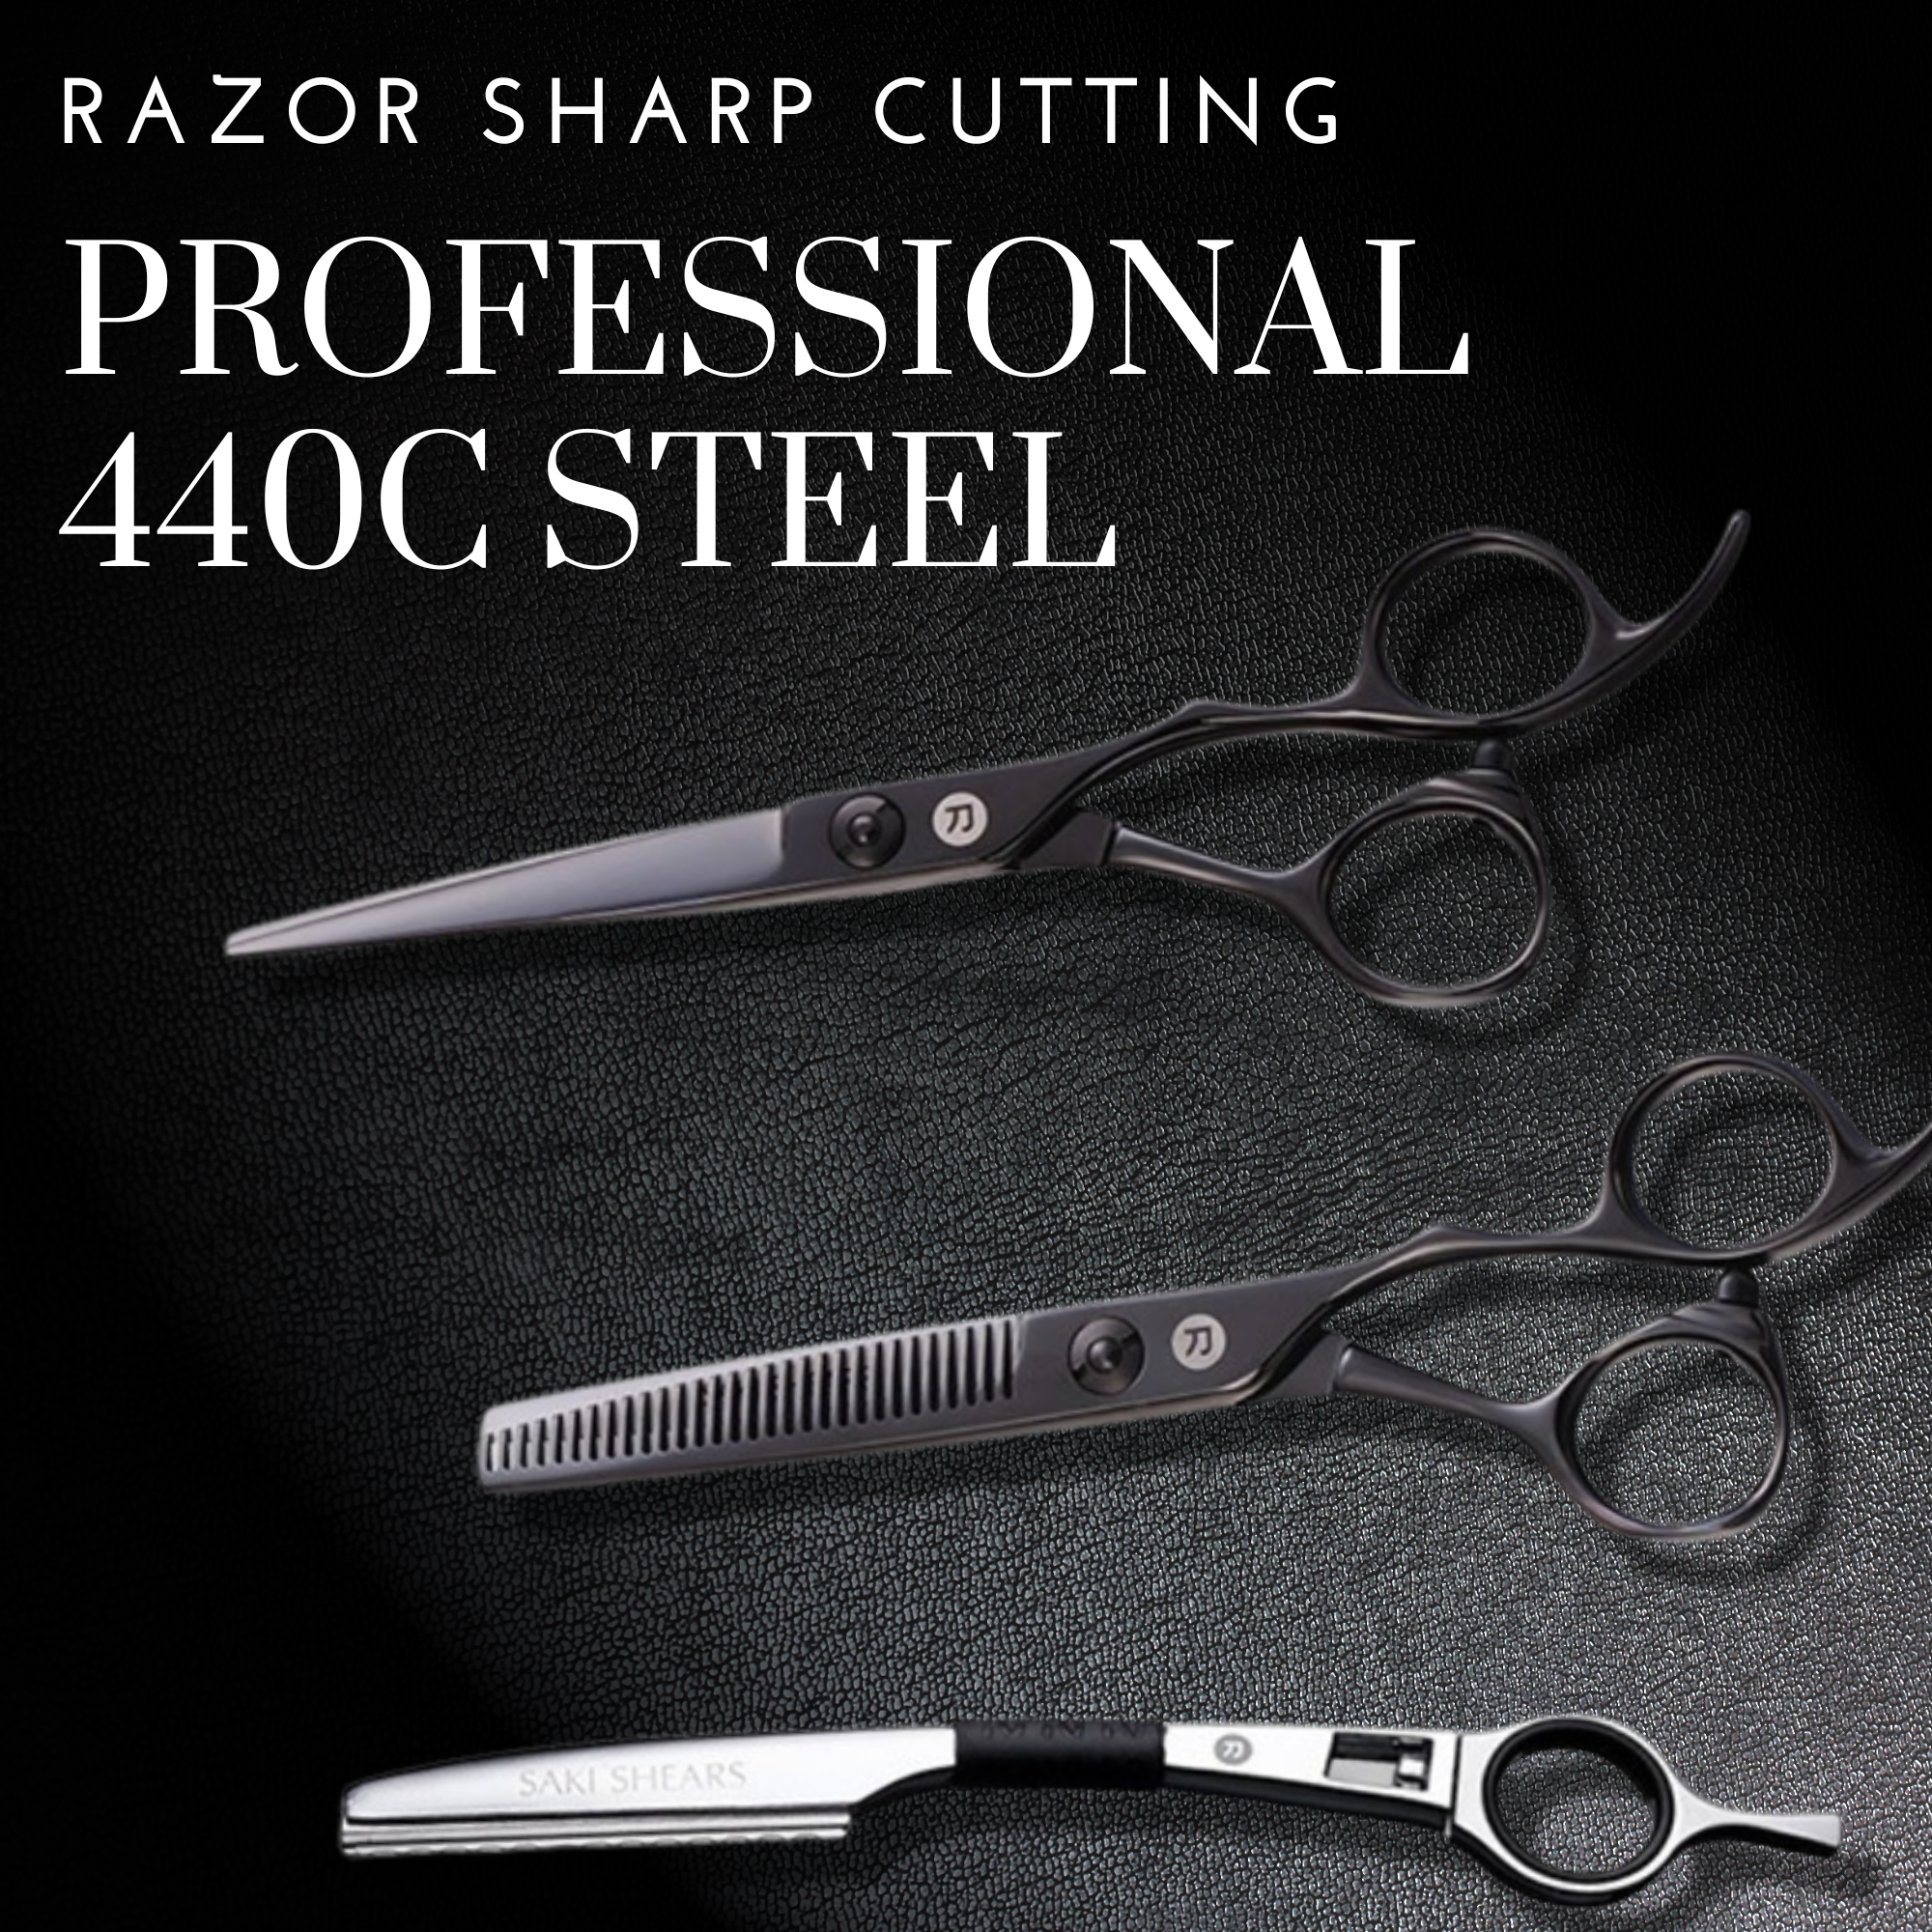
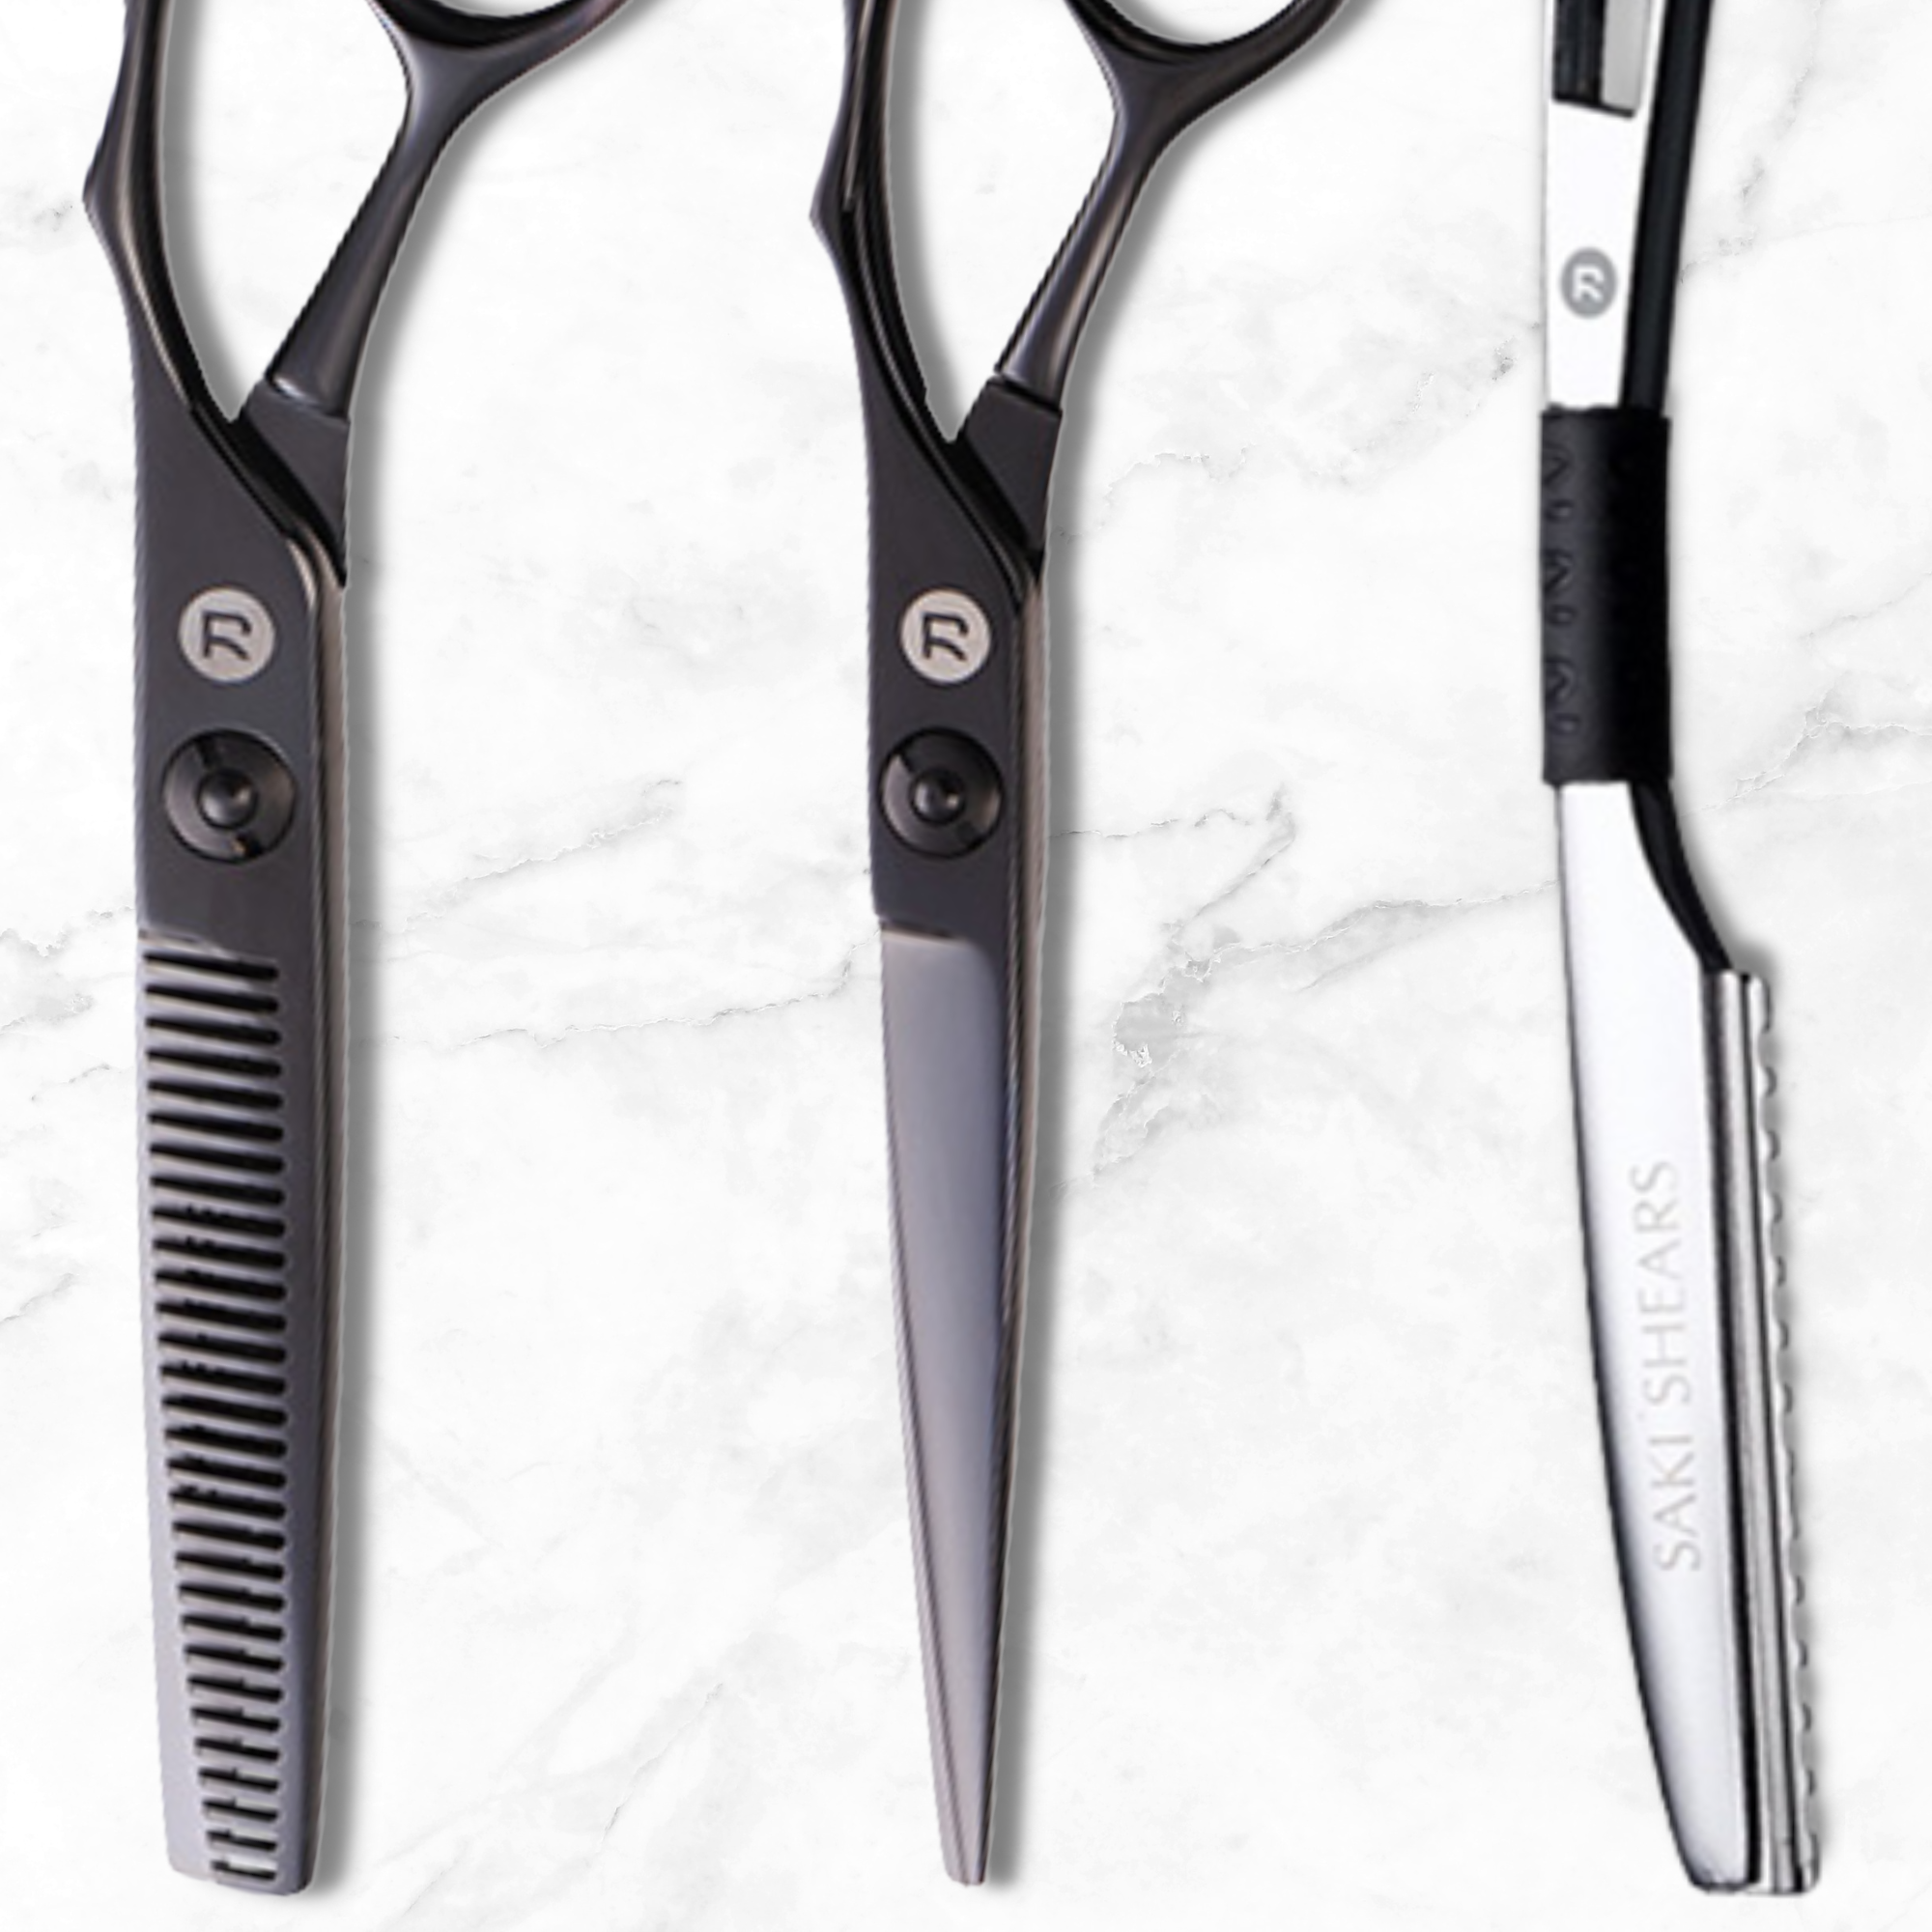
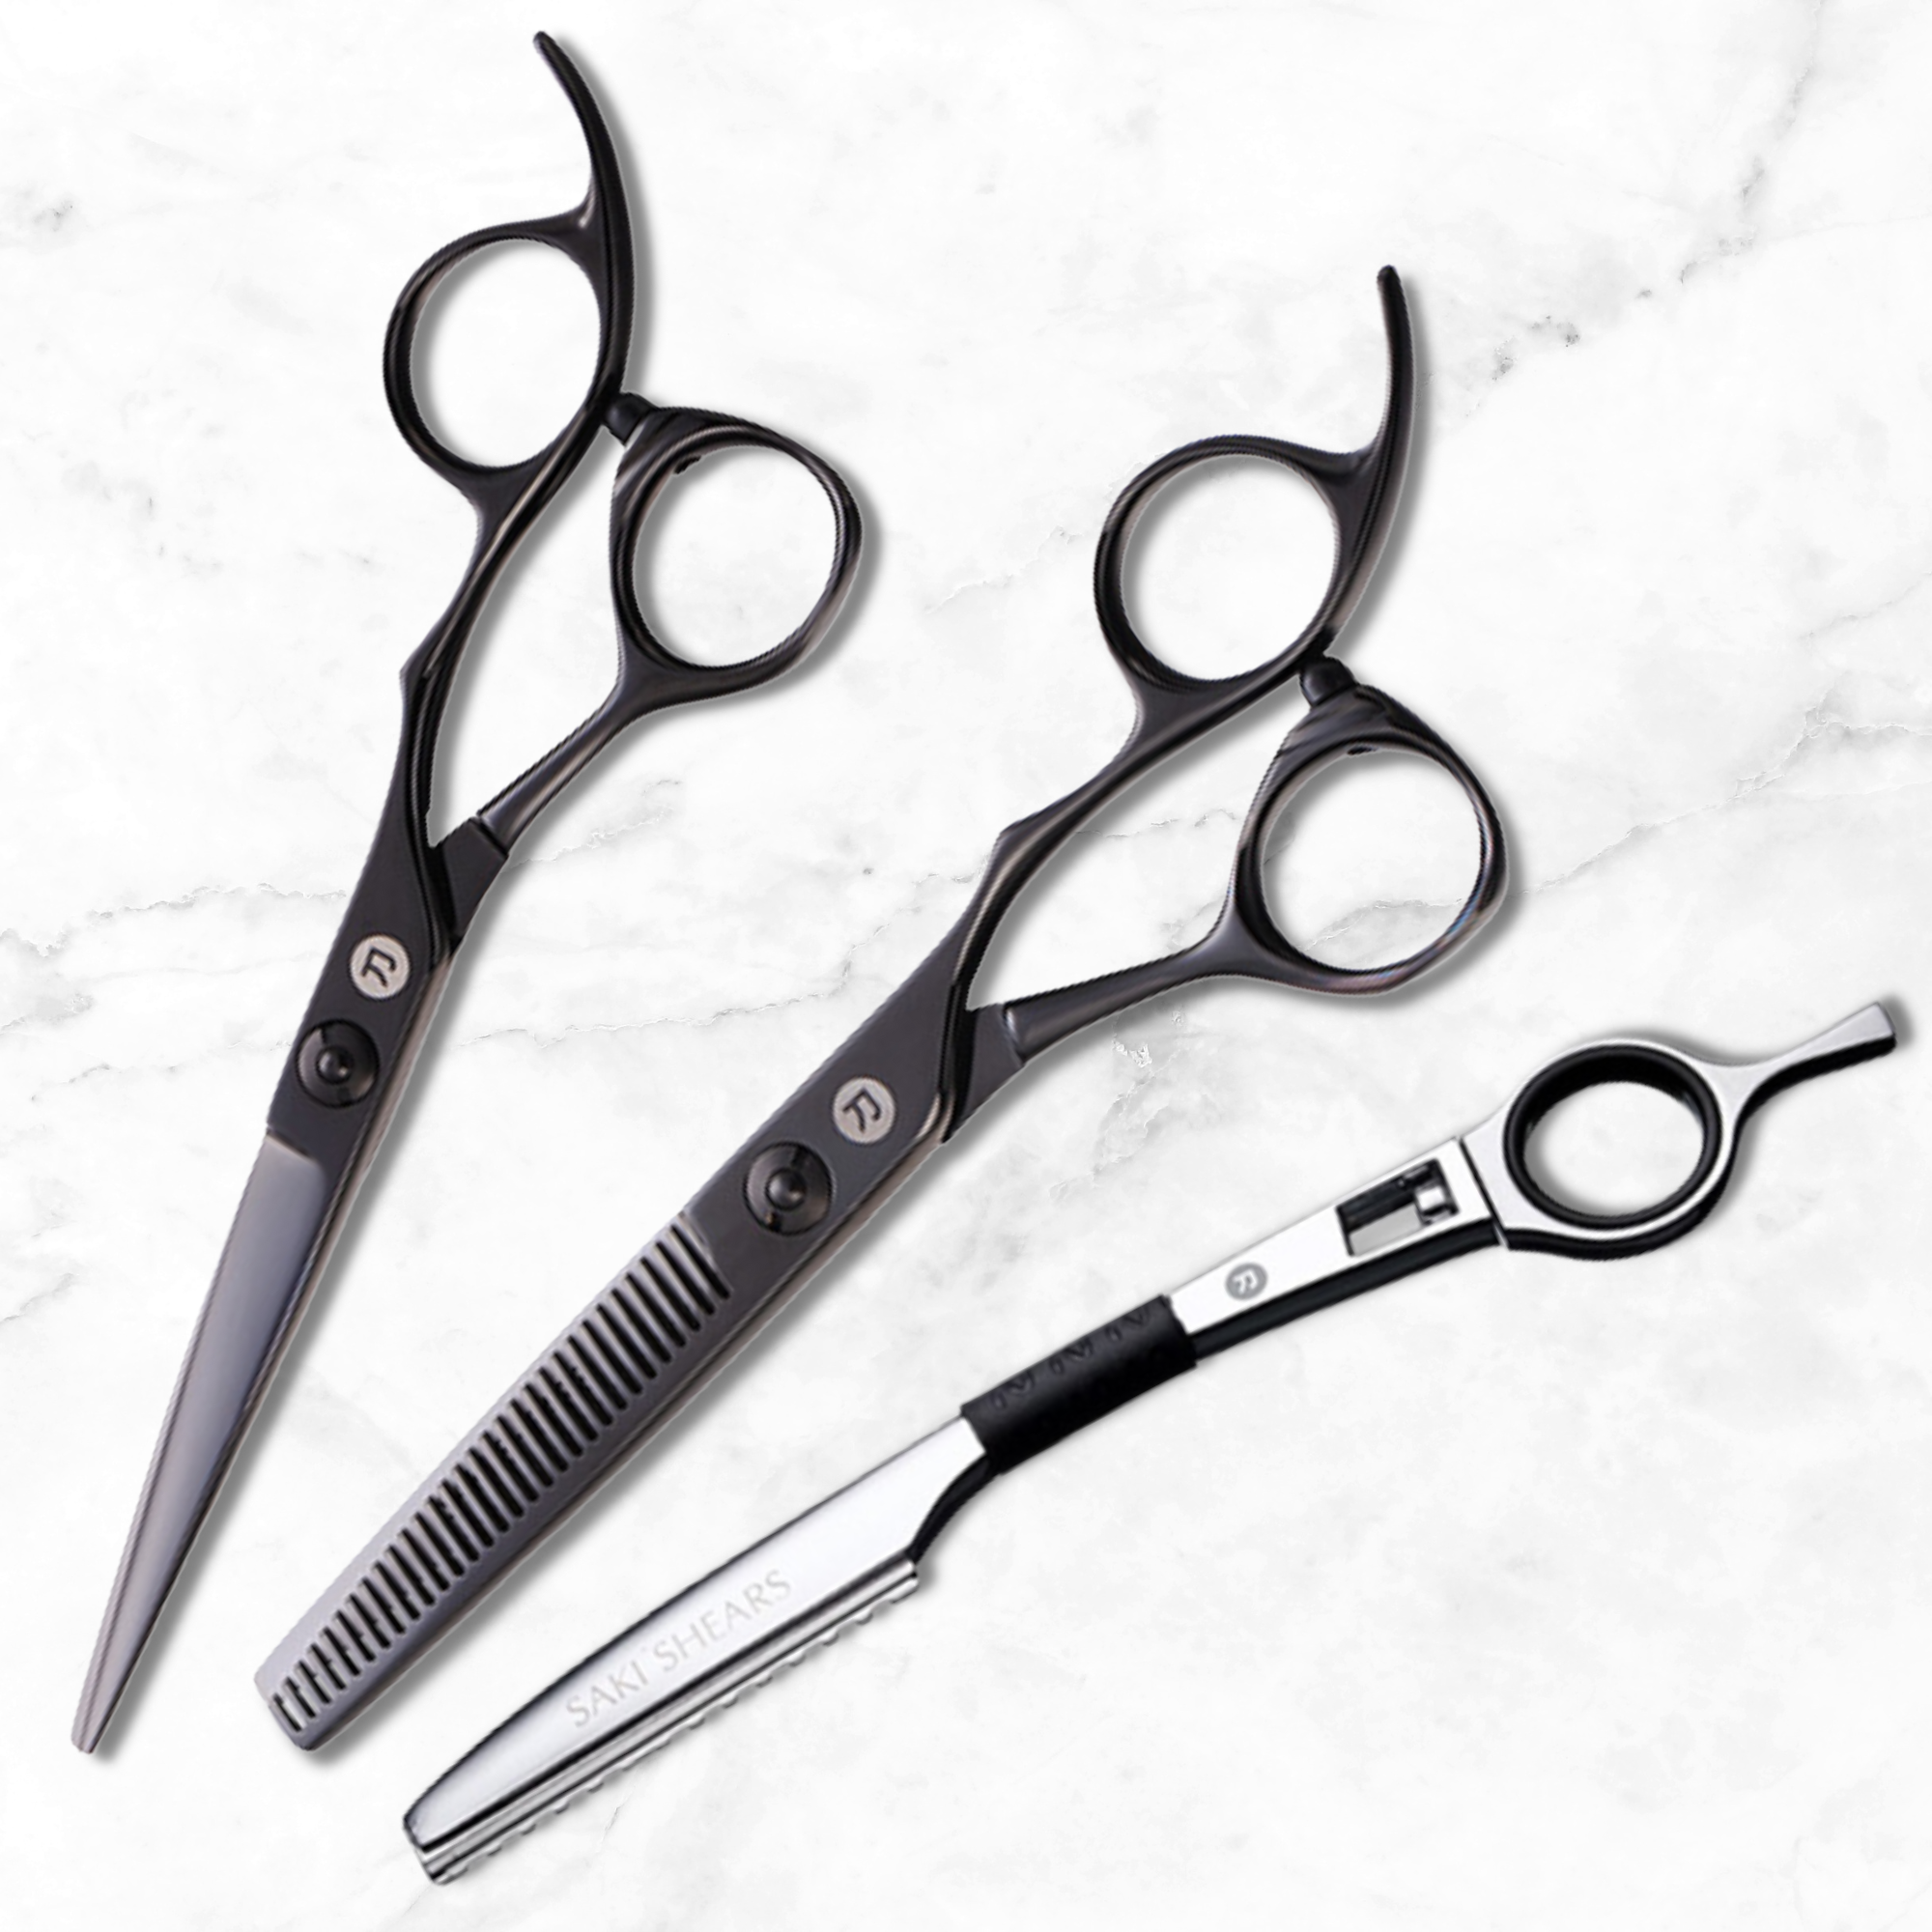

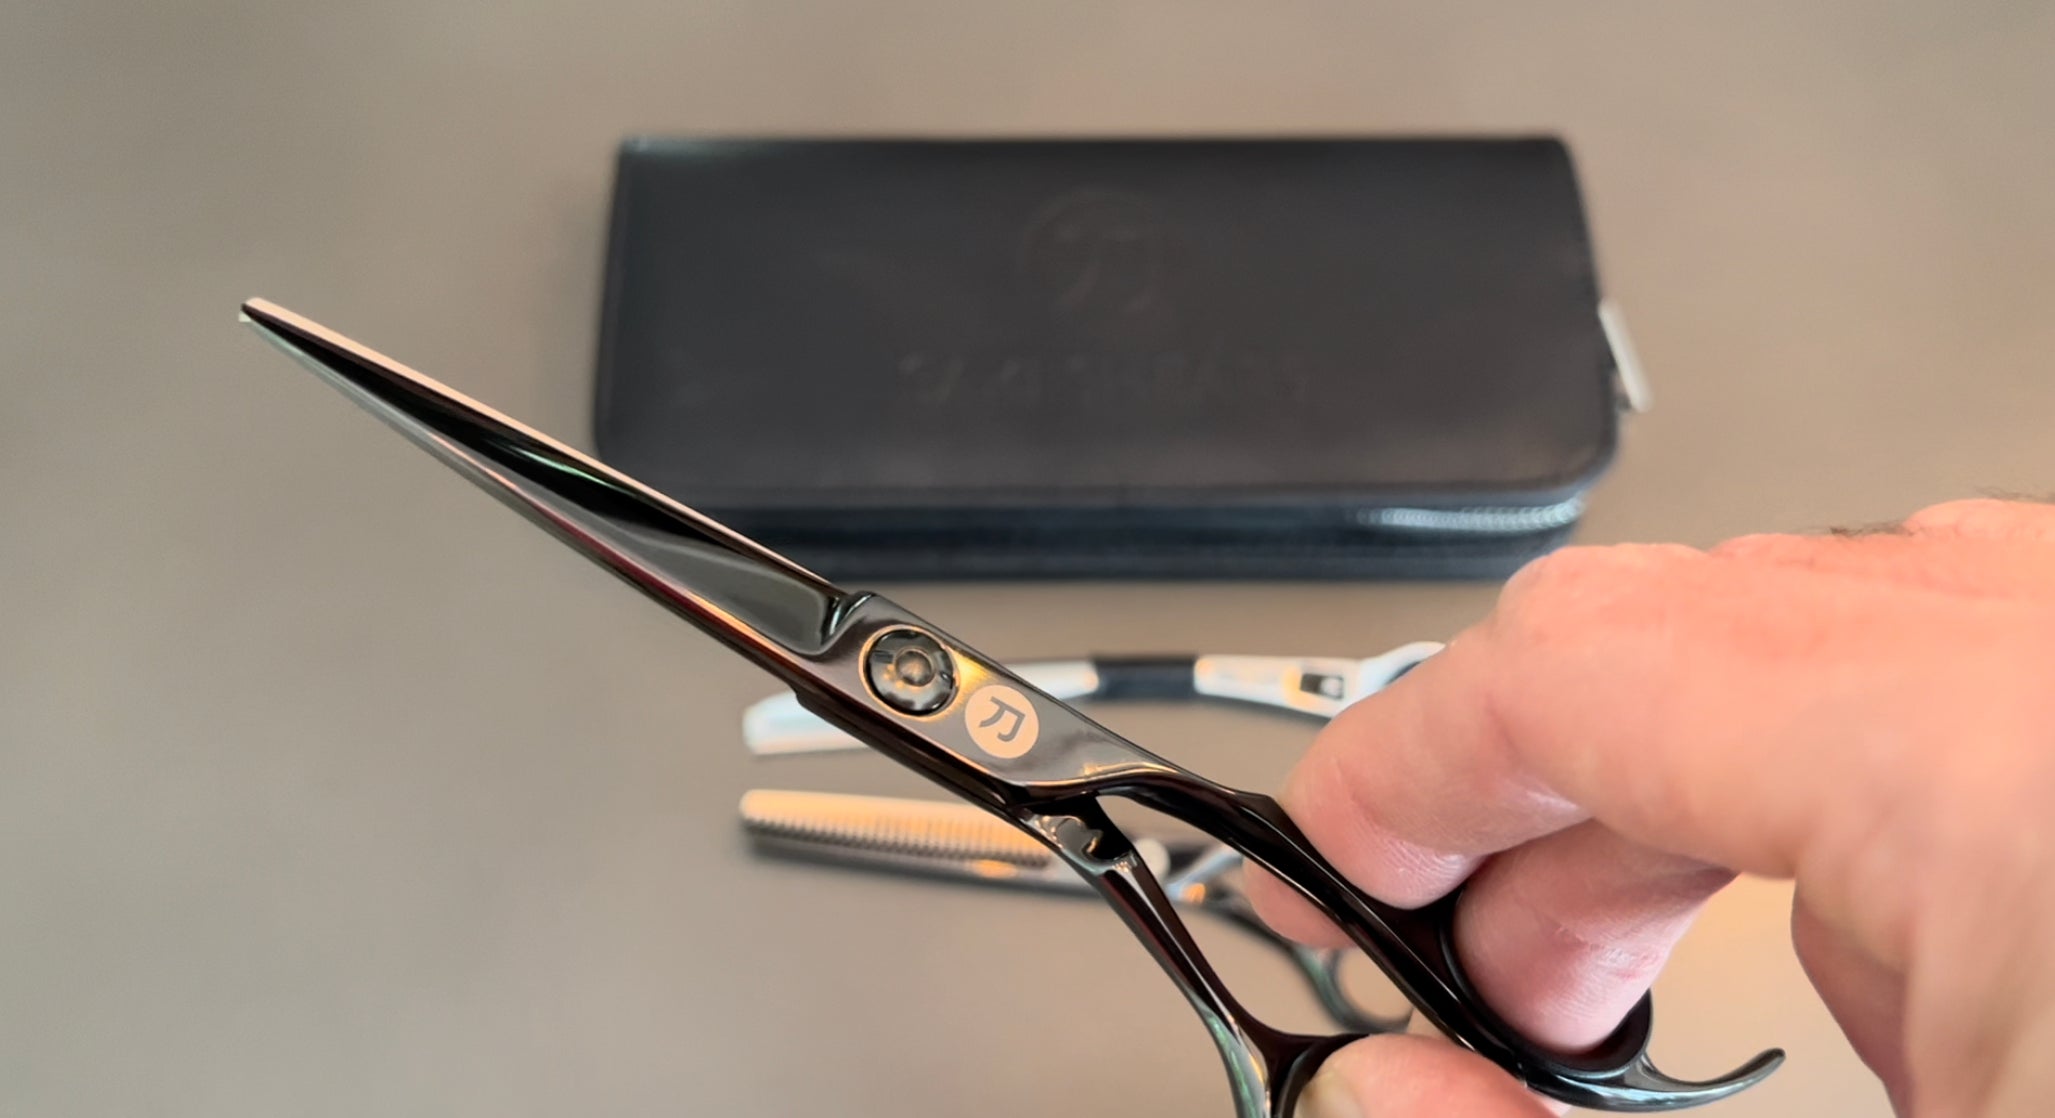
Saki Katana Hair Cutting set is the perfect pair! Handmade and constructed using Japanese stainless steel and a thick coating of black titanium, the Saki Katana Hair Scissor and Thinning Shear provide the ultimate durability for a long-lasting pair of hair shears you can count on. The Saki Katana set includes our premium hair cutting shears, hair thinning shears, razor and leather carrying case.
Options:
6" set includes the Katana 6" cutting shears, 6" thinning shears, swivel razor and leather case.
7" set includes the Katana 7" cutting shears, 6" thinning shears, swivel razor and a leather case.
Saki Katana Warranty: Covered by Saki Shears Lifetime Warranty
Saki Katana Cutting Shears
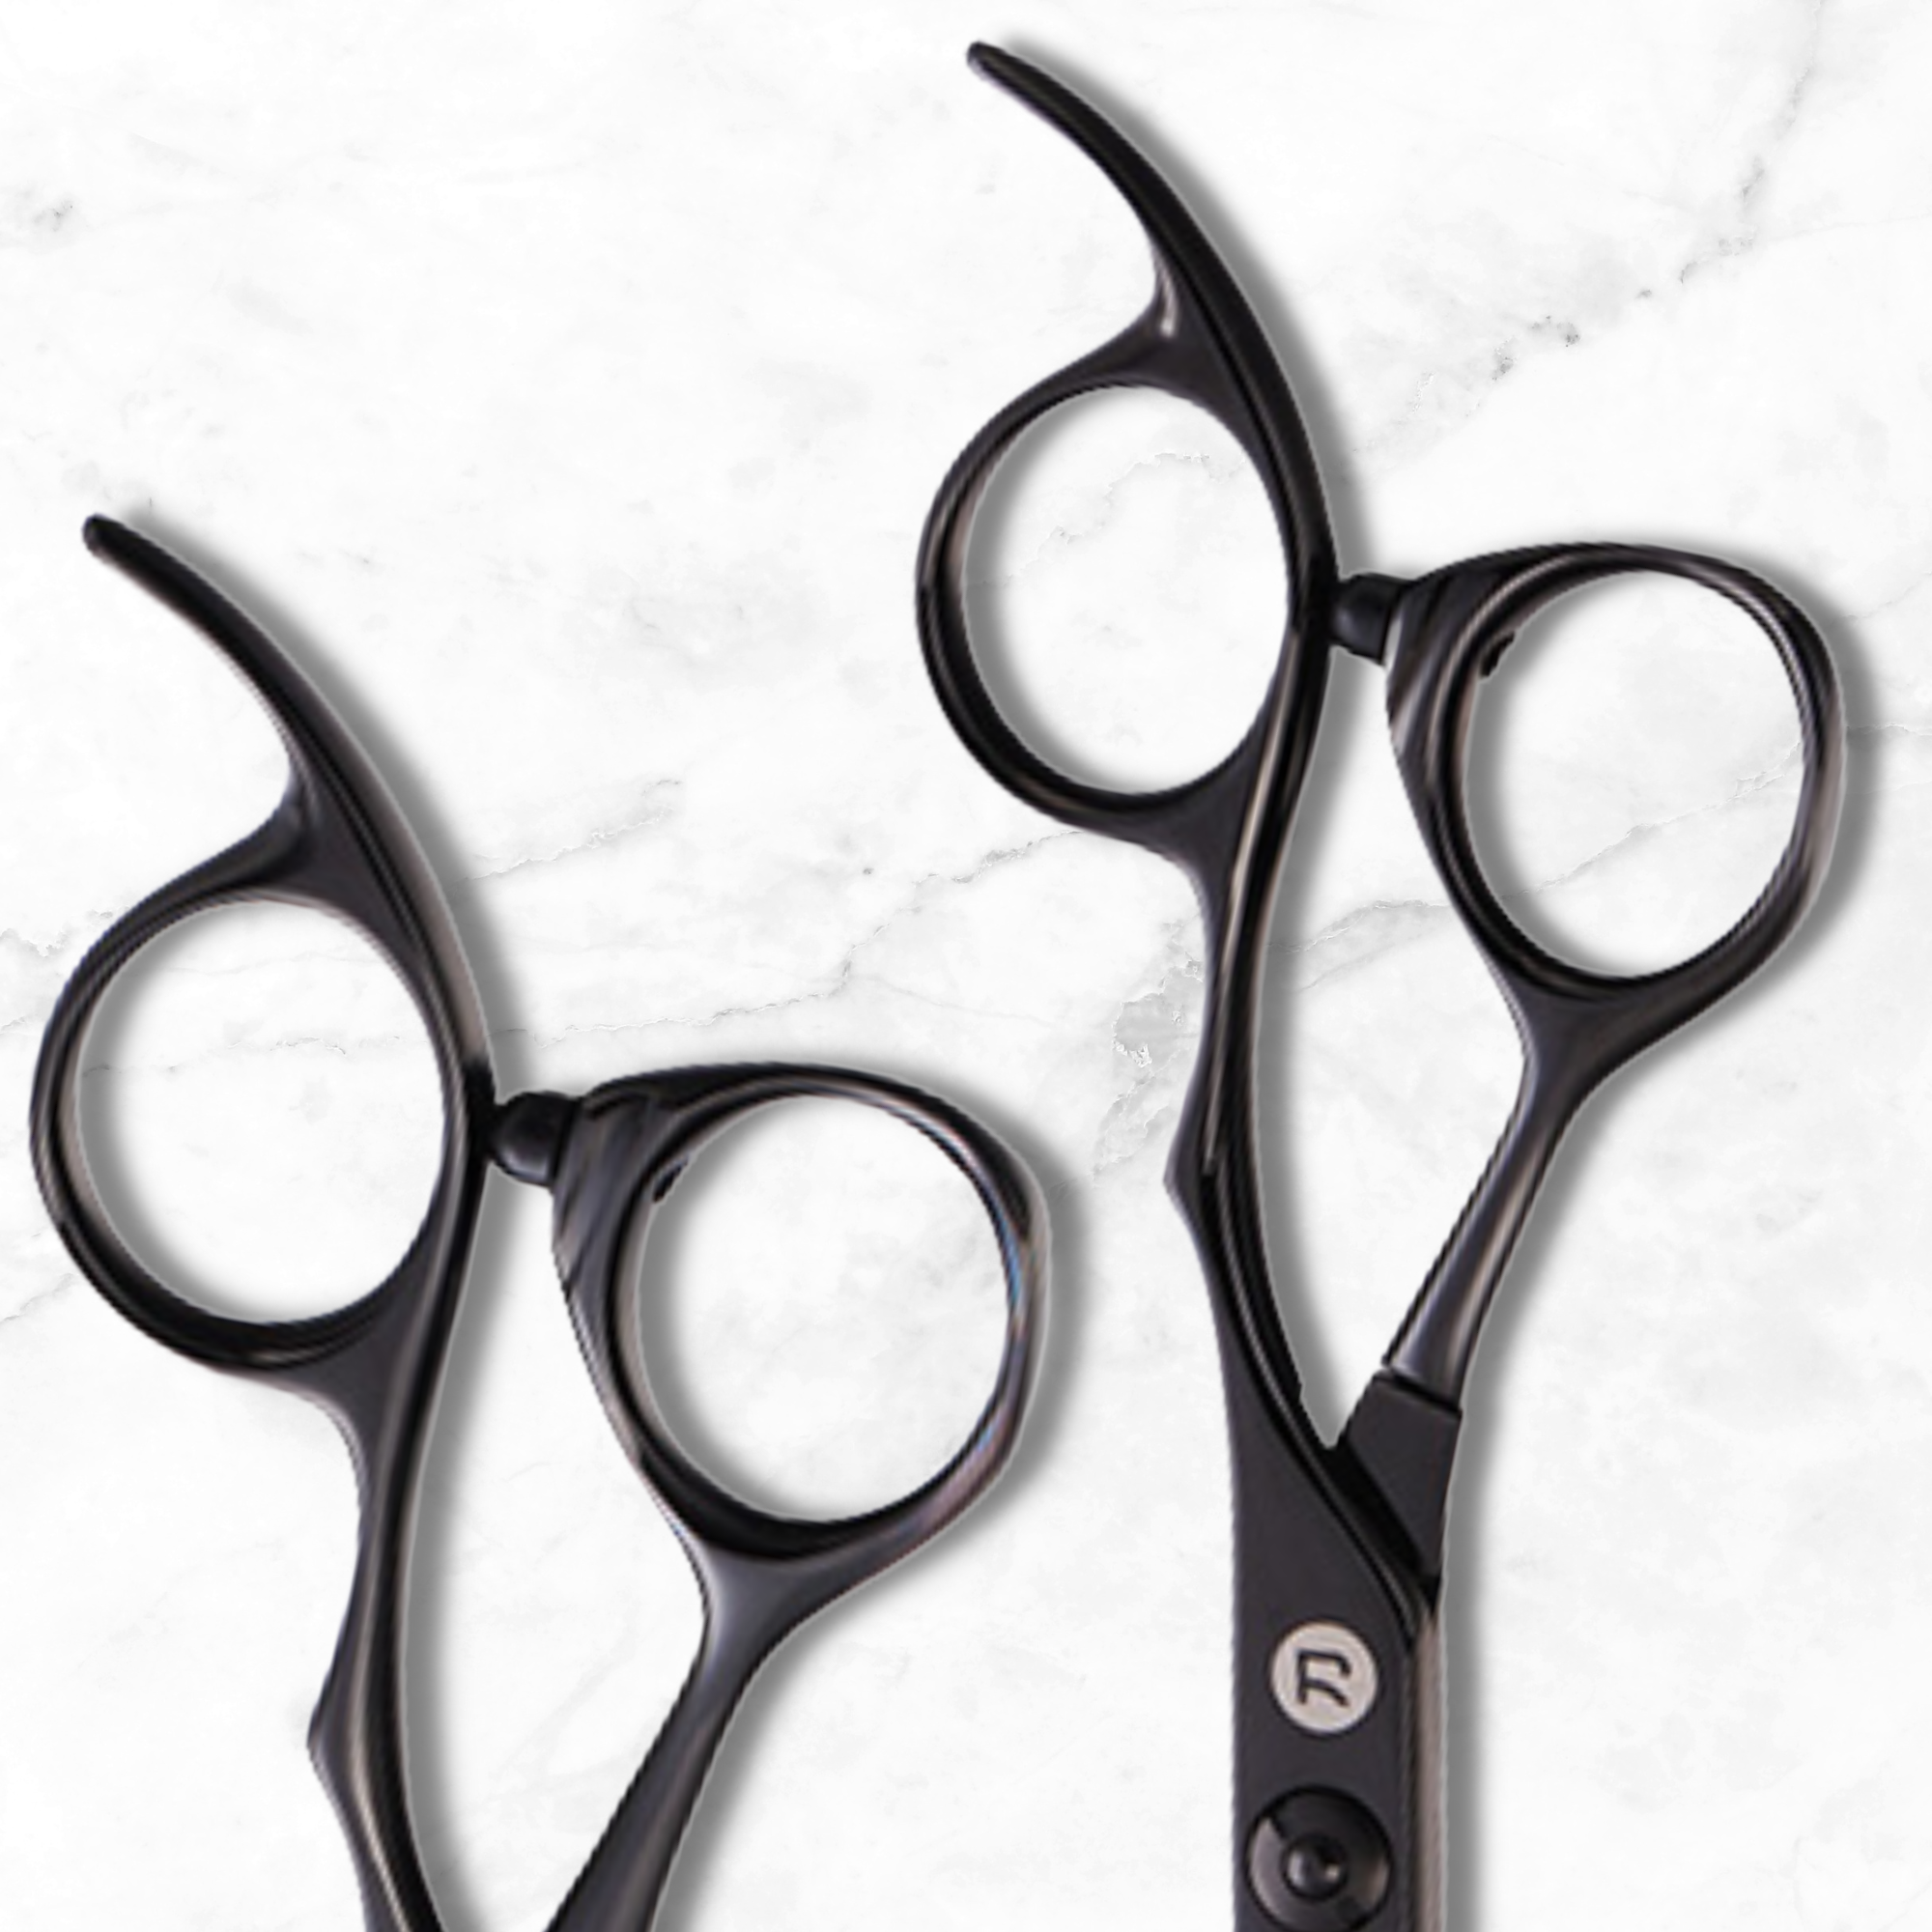
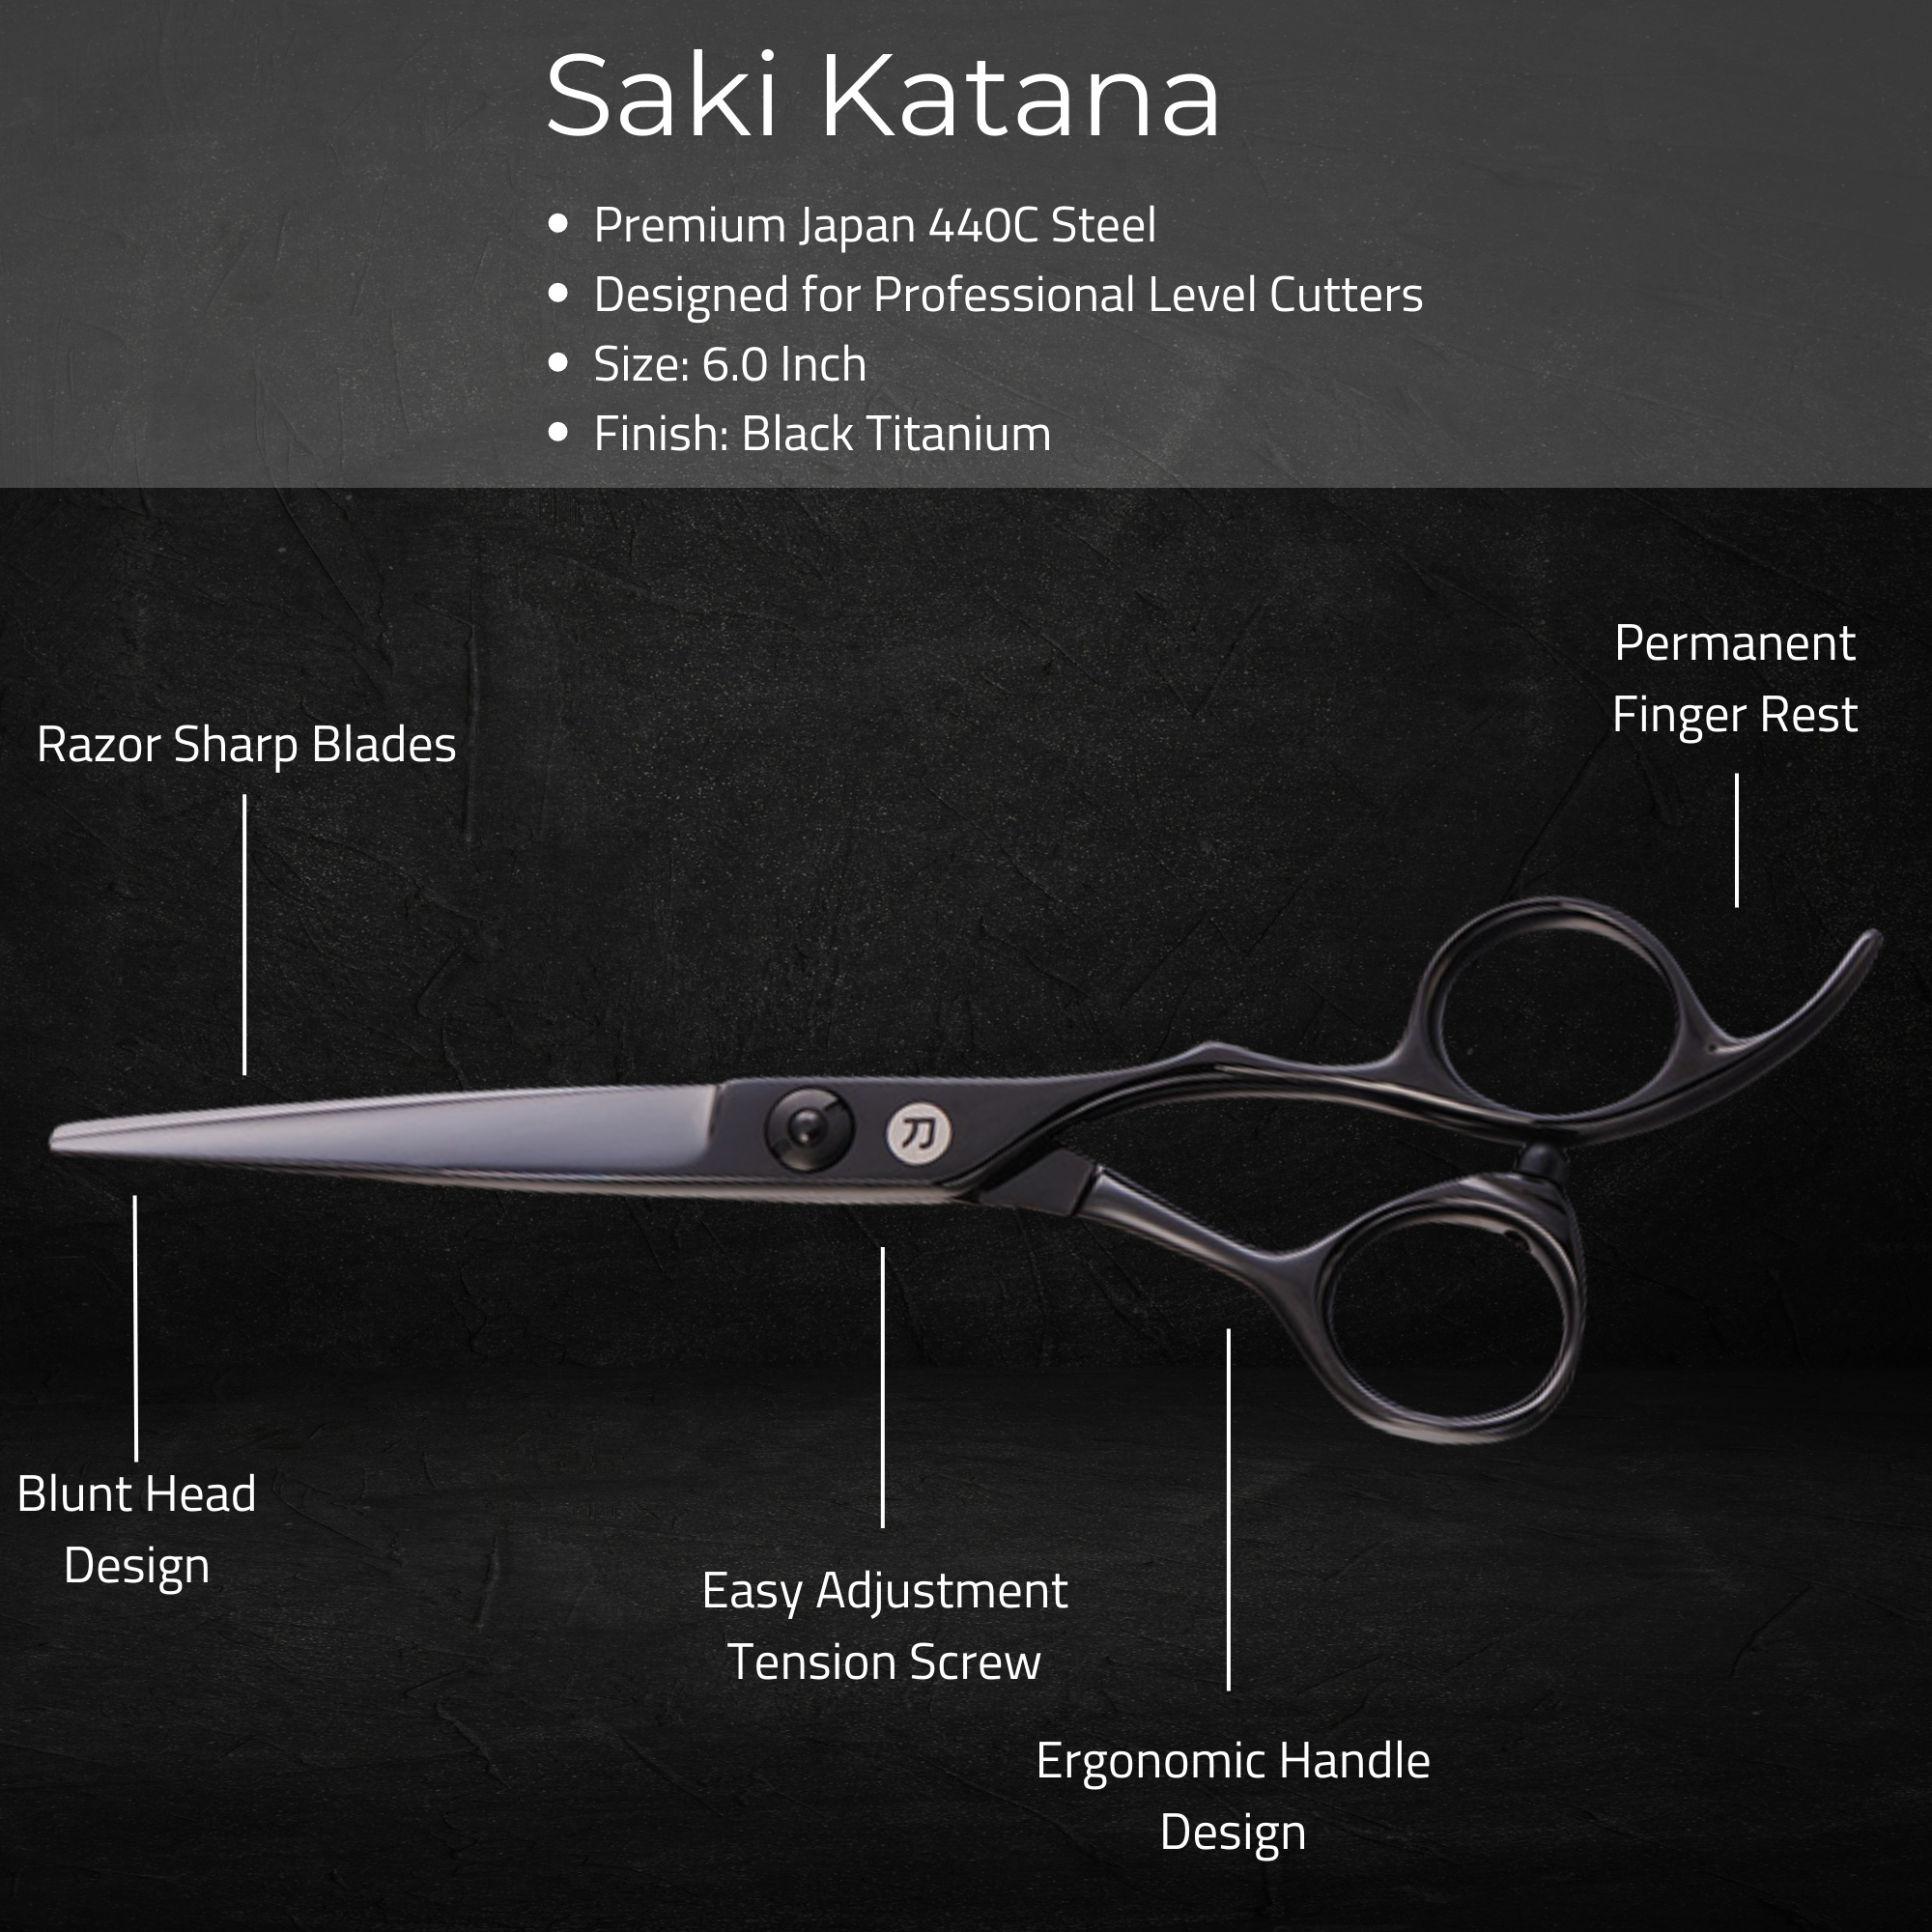
Saki Katana Hair Shears feature a convex edge and triple-honed, stainless steel blade for precise and smooth cutting while the offset, extra-long crane handle fights fatigue and provides the ultimate in comfort. Ideal for blunt, wet, and dry cutting.Features:
- Handmade for Precision
- Material: Japanese Stainless Steel
- Blade: Japanese style convex blade with hardness 60-61 HRC
- Ring Size: Adjustable
- Two-Piece Welded
- Black Coating: Titanium Coating
- Coating Thickness: 1.5 um
- Size: 6 inch
Saki Katana Thinning Shears
Saki Katana Thinning Shear is perfect for thinning, blending and/or adding texture to any hairstyle with 30 teeth and thick, short sword back blades. Offset, extra-long crane handle, and adjustable ring size offers the utmost comfort and support while styling.
Features:
- Handmade for Precision
- Material: Japanese Stainless Steel
- Blade: Japanese style convex blade with hardness 60-61 HRC
- Ring Size: Adjustable
- Two-Piece Welded
- Black Coating: Titanium Coating
- Coating Thickness: 1.5 um
- Size: 6 inch/30 Teeth
Your Saki Katana Set Includes:
- 1 Handmade Saki Katana Hair Shears
- 1 Handmade Saki Katana Thinning Shears
- 1 Handmade Swivel Razor
- 1 Case
- Lifetime Warranty
Saki Shears Katana line of hair shears are perfect for master barbers, advanced hair stylists and professional hairdressers.

